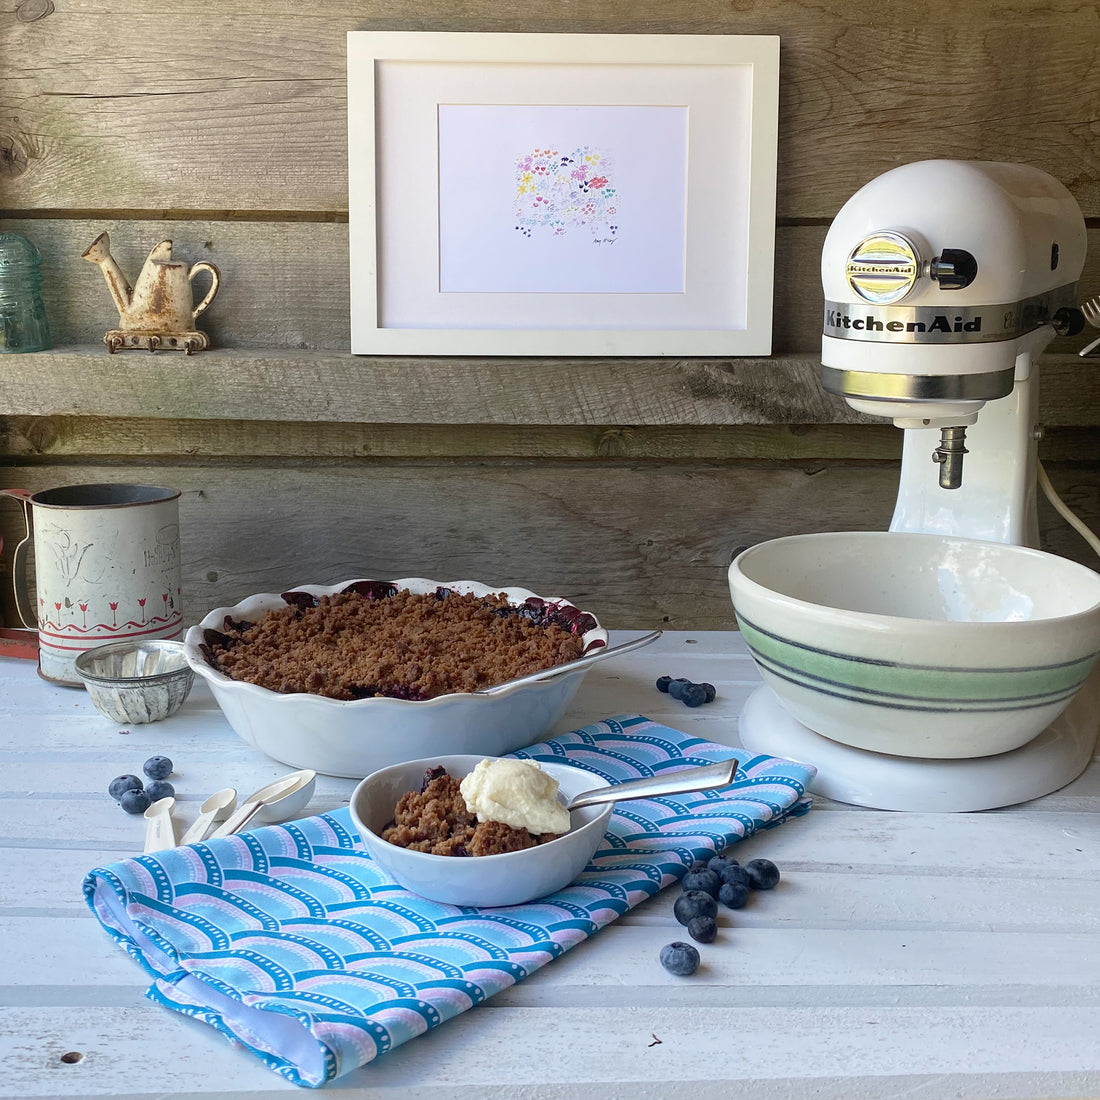
Blueberry Crumble with Homemade Whipped Cream
Share
8 to 10 servings
Active time: 25 minutes
Total time: 1 hour 25 minutes
Ahhh, blueberry season. Which also happens to be blackberry season, and peach season - either of which would also work in this dish. Blueberries, though, are one of my favorites - I cannot - CANNOT - control myself around blueberries.
It’s a lifelong problem. As a kid, I used to go to our neighbor’s house, ostensibly to play, but I’d always check the fridge for blueberries, then proceed to eat them from the pint when their mom wasn’t looking, picking out the very best-looking ones. Once I realized that things had gotten a little out of control, I’d try to fluff up the berries to hide how many I had eaten. It wasn’t really the best approach, as (you may have noticed if you’ve ever tried this technique) blueberries do NOT stay fluffed up, but I was only nine, so it seemed like it *could* work. And we were really close with those neighbors, but still. Nine year-old me just sitting there pilfering their blueberries without a care - no control, I tell ya. At least it’s only blueberries.
As you might imagine, some version of blueberry crumble has been in my repertoire for years. How could it not be, right? I had included one in my cookbook (just throwing that out there in case one day you see something with my name and a cookbook together - it’s true, there is one!), and this version is slightly less sweet than that, though both make for a nice summer dessert and an even better summer breakfast. Or anytime you want blueberries with crumb topping, actually.
Filling:
- 2 pints blueberries, rinsed and picked over (get those stems out!)
- ½ cup granulated sugar
- ¼ cup all-purpose flour
- 1 tablespoon cinnamon
- The zest and juice of one lime (you can use lemon instead, but I like lime for a change of pace)
- pinch of kosher salt
- 1 ¼ cup all-purpose flour
- ¼ cup granulated sugar
- 6 tablespoons light brown sugar
- 1 tablespoon cinnamon
- ¼ teaspoon salt
- 1 stick unsalted butter, melted (see note)
- ¼ teaspoon vanilla extract
- Preheat your oven to 375°F / 190°C. Grease the bottom of a 9-inch pie dish with butter.
- In a large bowl, stir together the blueberries, sugar, flour, cinnamon, salt, and lime juice.
- Combine the flour, sugar, brown sugar, cinnamon, and salt and mix well. Add the melted butter and vanilla extract, mixing until a moist but crumbly mixture is formed. Apologies if you don’t like the word moist. We’ll work through this together so we can have blueberry crumble.
- Pour the blueberry mixture into the pie pan and spread it out evenly across the bottom of the pan. Top with the (moist!) crumb mixture. If your crumb mixture has any large clumps, use your fingers to break them up.
- Line a 9-by-13 inch rimmed baking sheet with aluminum foil.
- Place the pie pan atop the foil-lined pan, and bake until the crumb topping is golden brown and the blueberry mixture is bubbling, about 55 minutes to 1 hour.
- If the top is browning too quickly and there is no bubbling, cover the crumble with foil until done.
- Let this bad boy cool for 15 minutes before serving.
While it cools, make the whipped cream. This is a little less sweet than a lot of whipped cream recipes, which I prefer, but if you’d like it to be sweeter, you can increase the sugar to ½ cup.
- 2 cups heavy whipping cream
- 1 teaspoon vanilla extract
- ¼ cup granulated sugar
- In a medium mixing bowl, combine the heavy cream and vanilla extract.
- Using the whisk attachment on a hand mixer or stand mixer, whip the cream on medium-low speed to avoid splashes.
- While on medium-low speed, gradually sprinkle in the sugar, then increase the speed to medium-high.
- Whip until stiff peaks form, approximately 2 minutes.
When I make this, I tend to whip the cream until the peaks are very apparent - like, it looks like the stuff that comes out of a can, but in a bowl. Or to the point that it's just before butter stage, if you've made butter at home before.
This way, the cream stays set a little longer, so you can enjoy it for a couple of days - stored in an airtight container in the refrigerator, of course. :)
note: this amount of butter results in a crispier crumb once baked. If you prefer your crumb topping a little softer, add and additional 1 to 2 tablespoons melted butter to the flour mixture.
*to find the tea towel shown here, head on over here.